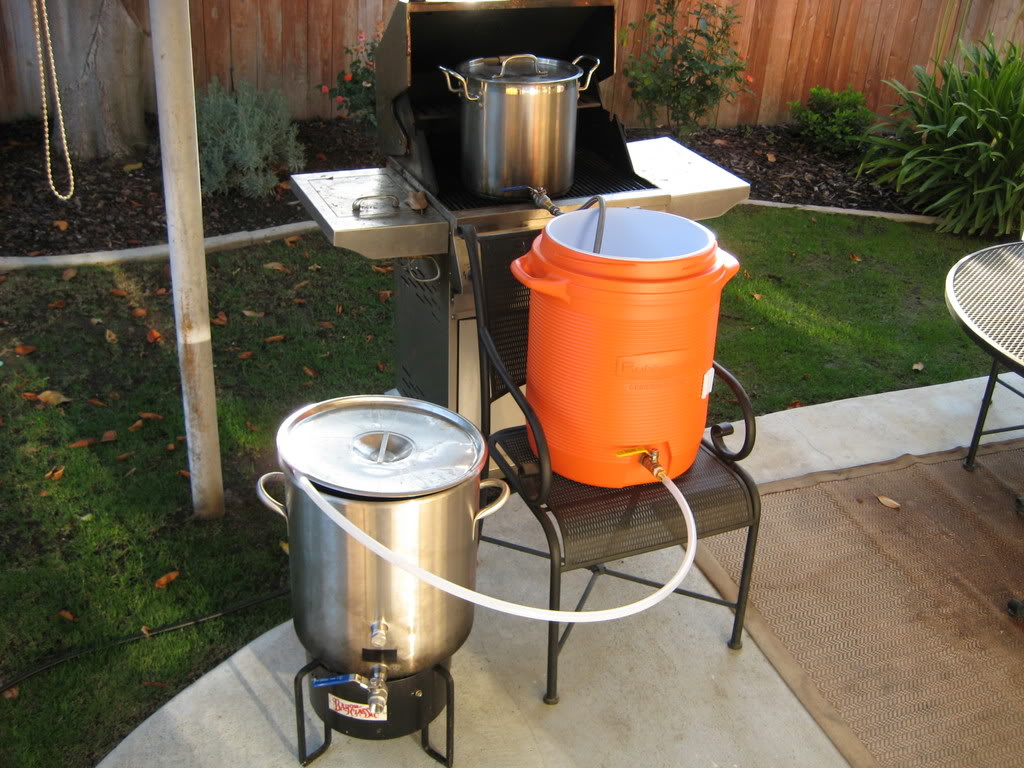
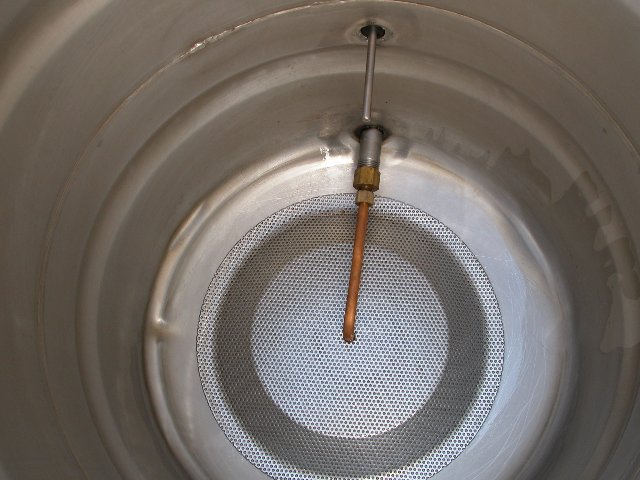
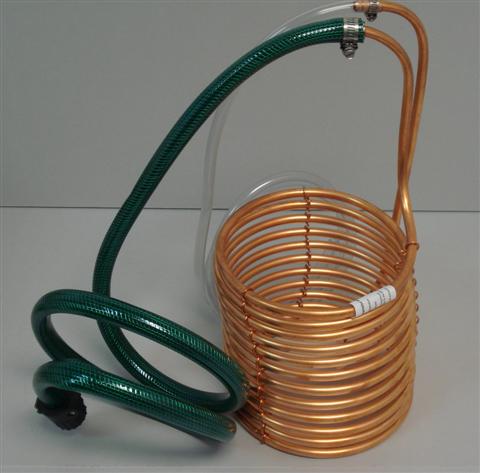
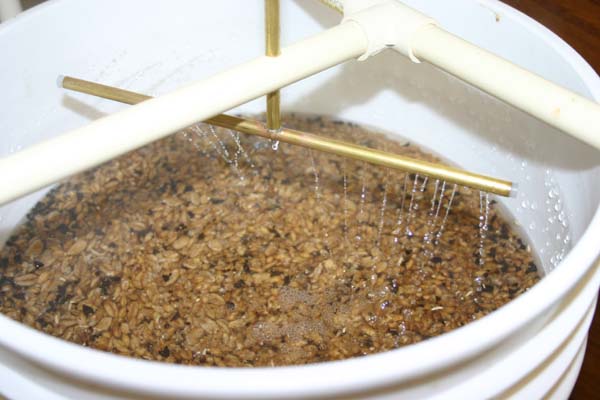
Time for another (somewhat belated than promised) guest blog from my friend, Paul Arrondelle, who has been an avid homebrewer for many years and on the last outing back in February 2012 [http://electrokemistcuisine.weebly.com/blogs/home-winemaking-guest-author-paul-arrondelle1] gave us an insight into his method for fermenting a basic wine at home. On this occasion, he talks about Homebrewing of beer and outlines some basics that might get some creative juices flowing. A rather timely addition to the blog too, considering the recent announcement of the winner of the Homebrew Challenge was announced a few days ago, in the guise of Graham Nelson's Vienna IPA. This is going to be realised through full production by Thornbridge and be in Waitrose by October apparently. Full details are here: [http://siba.co.uk/2014/08/the-great-british-home-brew-challenge-2014-winner-is-announced/]. I will be looking to get my hands on this promptly! Back to business... full contact details are given at the bottom of the article, but feel free to fire over any questions on the comments section below. Without further ado, I’ll let Paul’s words take the front…. ---------------------------- In my last post I talked about winemaking, and finished with the line that the next blog would be about beer making and why you shouldn’t do it. That needs some explaining really. The wine that I described making isn’t really wine, not in the traditional sense. It was a fruit based drink with the same alcohol content as wine. I realise it sounds like I’m splitting hairs but the reason why I make this distinction will become apparent shortly. Nevertheless, as far as the UK goes, I described wine making and it is pretty easy. If you can make soup you can make wine, and that’s the rub – beer making is different. It is complicated, requires some specialised equipment, and takes a large proportion of a day to do. Of course, if you were to make wine the proper way, from grapes and using natural yeasts, it is just as complicated and time consuming. You don’t however, and hence some beer makers look down on wine as being easier and therefore inferior. Firstly let’s go through the steps that are required to make a beer from its component parts, known as “all grain” brewing. This procedure is common whether you are in a shed or producing thousands of gallons a year, as anyone who has done a brewery tour will recognise. There is a fair amount of jargon involved but I’ll try to keep things simple. 1) Mashing; this is where you take the malted barley for your beer and soak it in water (liquor) at around 70°C for a period of time, usually 1 ½ hours. 2) Sparging; after drawing off the water that you’ve soaked the grain in, rinse the grain with more water 3) Boiling; take the mashing and sparging water (now called wort) and boil for 1 ½ hours. Add hops at beginning and end of boil depending on recipe 4) At end of boil cool the wort to room temperature, either with some kind of heat exchanger or by leaving overnight, transfer to a fermentation vessel and add (pitch) yeast 5) Leave until fermentation is complete then transfer to either barrel or bottles There are a few parts I’ve missed out but these are the basics. In total steps 1 – 4 take around 6 hours (plus overnight if needed), fermentation is 5 – 10 days and conditioning before drinking can be 1 week to 1 month depending on if you use a barrel or bottles. There are variations and shortcuts that can be taken but these are reasonable ballpark figures.
So why do it the long way? Well, if you get it right it can be the best beer you’ve ever tasted. It will certainly be the cheapest in terms of ingredient cost, and it will be the quickest despite the length of your brew day. All-grain ferments faster and is ready to drink about a week afterwards if barrelled, while kit beer usually needs a month and has a reputation for a slight after-taste even then. Also there is the satisfaction of having made your own beer from the bare ingredients, surely on a par with hunting and gathering!
To be honest, it is pretty easy to move up to AG brewing in stages, as can be seen above. I’d reckon that anyone who is methodical could start straight away but perhaps starting with kits would at least allow for a person to get a feel for if they want to be a brewer. And for the record, I use BIAB and am more than happy with the results, but if I had the space and the money I’d go for more traditional mashing/ sparging.
Places you can buy the things you need: - The Art of Brewing (http://www.art-of-brewing.co.uk/); excellent general supplier with free shipping on orders over £49. - The Malt Miller (http://www.themaltmiller.co.uk/); formerly exactly as the name suggests but now expanded into a full range of products. I’ve met the owner Rob is he’s an absolutely top bloke, happy to help and give advice. - Wilkinsons (http://www.wilko.com/); basic equipment and kits, either on the high street, depending on the store, or online. Good prices. - The Home Brew Shop (http://www.the-home-brew-shop.co.uk/index.html); similar range to Art of Brewing and Malt Miller, they also run half day courses in how to do AG brewing at a reasonable price but you have to get to Aldershot for it. - https://twitter.com/TheHomeBrewShop Sources of information: - Jim’s Beer Kit; fantastic resource and great forum http://www.jimsbeerkit.co.uk/index.htm - https://twitter.com/JimsHomebrew - How to make your own brewery: http://www.instructables.com/id/Build-Your-Own-Brewery-for-Under-100-STEP-1-/ Thanks for reading! Paul Arrondelle.
0 Comments
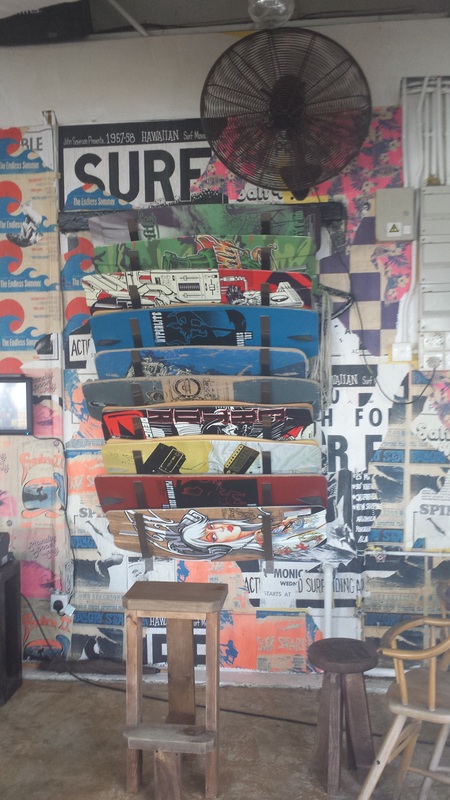
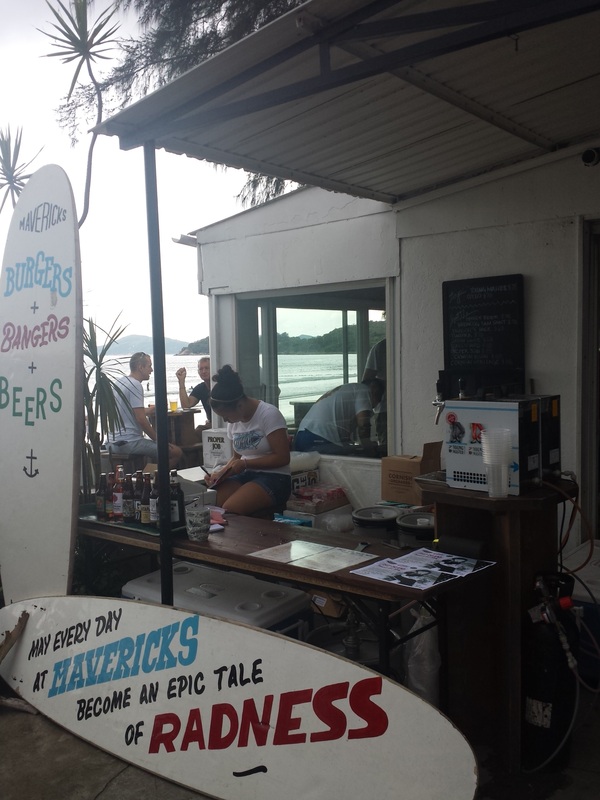
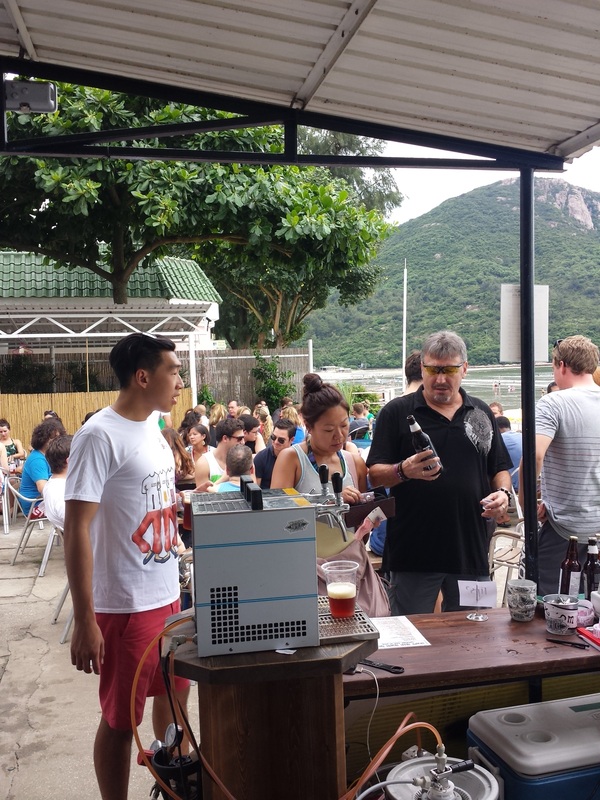
 So, after a little gentle coaxing and a liberal amount of (metaphorical) prodding, I have managed to cajole a good friend to get in on the act and start doing some writing for me. With a little bit of luck, we’ll get a few articles winging their way over from the far east and roosting here on ElectroKemist Cuisine, giving us some insight into some of the fantastic beers we are sadly missing out on, but may also see soon. Without further ado ladies and gents, please read on for the inaugural piece by Luke Palmer… --------------------------------- So, Summer is here in Hong Kong (it has been a little while) and that surely means it is time to enjoy oneself and participate in a local party celebrating craft beer at the picturesque Pui O beach. This venue for the CBAHK event was the recently opened, featuring delights such as the beach front bar and restaurant, Mavericks. A convivial, lively and colourful venue for the event, considering its philosophy of good drinks, food, beach life and board sports. The organisers behind the event were some of the top craft beer distributors in Hong Kong; distributors such as Americraft (Founders Brewing Co, Jolly Pumpkin Artisan Ales, Lost Coast Brewery and Anchor Brewing Company), Hopleaf (Rogue Ales and Baird Brewing) and BestBev (Black Isle Brewery and Matso’s Broome Brewery) to name a few, who were there in full force. Their offering to the lucky people able to procure themselves a ticket for the event was the circulation of a selection of free tasters and to be on hand for the discussion on the beer at the event.
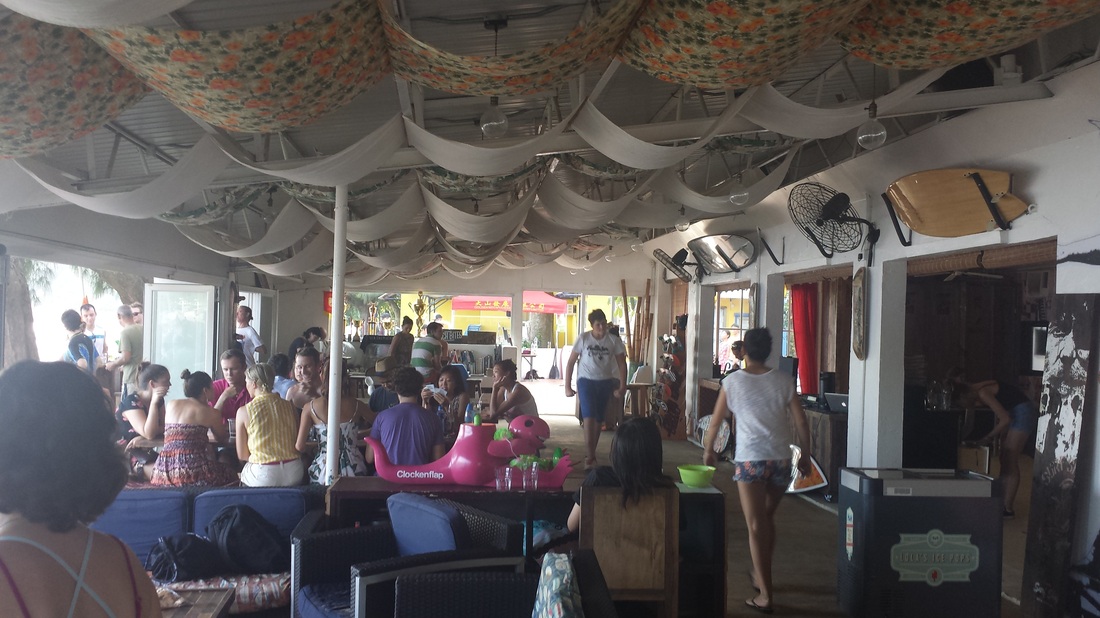
Chef and co-founder of Mavericks, Austin Fry, was busy along with his team preparing and cooking some food to compliment the beers on offer, this meant I was able to tuck into some homemade juicy burgers and stunning hot dogs along with the other punters, washed down with a selection of great beers. The event required that a temporary bar be set up; this offered a range of bottled beers and two beers on draft, namely, the draft beers were Young Master Ales 1842 Imperial IPA and Coedo Setsugekka. The bottle beers on offer were sourced from breweries across the world, from the more familiar hoppiness of Brewdog’s Punk IPA, to Tuatara Bohemian Pilsner, Kona Long Board, Baird Single-Take Ale, Cornish Orchards Cider and the locally produced Hong Kong Beer Co Dragon’s Back Pale Ale. All varying styles available at the event and all infinitely drinkable, nonetheless. An enthusiastic crowd descended on the event on the 26th July, eager to enjoy the range of craft beers and beautiful beach surroundings. The weather was initially, not too kind to the revelries, but it did pick up in keeping with the event being held on the beach, resulting in stronger flow from the bars.
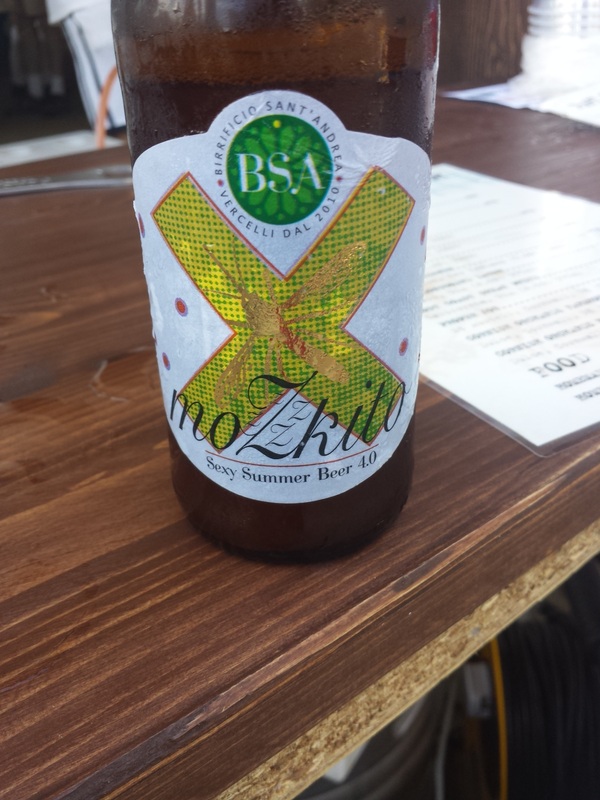
The presence of Mavericks bar usual premises continuing to provide other drinks gave the event goers even more choice than that available at the temporary set-up. Notable beers included the Young Master Ales summer season offering, “Mo’ Mo’ Wit”; a light witbier, carrying the aroma and flavours of citrus, coriander and some bitter notes, perfect and refreshing for this sunny day and worked rather well with a lot of the food on offer. Alongside the offerings by Americraft and BestBev, an Italian brewery Birrifico Sant’Andrea who are just entering the Hong Kong craft beer scene, were offering tasters of their main beers. In the UK, the presence of some of their Italian counterparts has been notable; it shouldn’t be too long before they make their presence known in Blighty if they haven’t done so already. Among the beers Birrifico Sant’Andrea were providing, was their golden ale “Mozkito” which is described, somewhat amusingly, as a sexy summer beer! Luckily I was able to get a bottle to try and it was a lovely light bodied and refreshing ale, with great taste of orange peel and other citrus fruit that was indeed perfect for this hot summers day. Birrifico Sant’Andrea have four of their beers at The Globe in Central Hong Kong as I write; I am definitely looking forward to trying the rest of their range, especially their beer “Hey Ho! To Go!” as a Ramones fan (it’s close enough!) and it being an English IPA, which is still one of my preferred styles.
As to why I was there, not only as lover of craft beer, I was also there working to promote one of my favourite breweries, Young Master Ales. Since the head brewer, Rohit, was unable to attended due to prior working commitments (giving people a tour of the brewery at Ap Lei Chau) I had to take up the reins. The main beer the event had on offer from Young Master was the 1842 Imperial IPA (my personal favourite, making talking about the beer much easier). The 1842 Imperial IPA is a lovely dark IPA, packed full of hoppy flavour, on the floral side with some slight citrus, pine and a touch of cut-grass paired with a solid malt backbone (as the colour would suggest) to provide some body and balance. At 8% (after all, it is an imperial!) the beer maybe could to be said to be a little on the heavy side for a summer event, but it was well received nonetheless by people at the event trying it for the first time, those already familiar to it also made a few return visits for a glass.
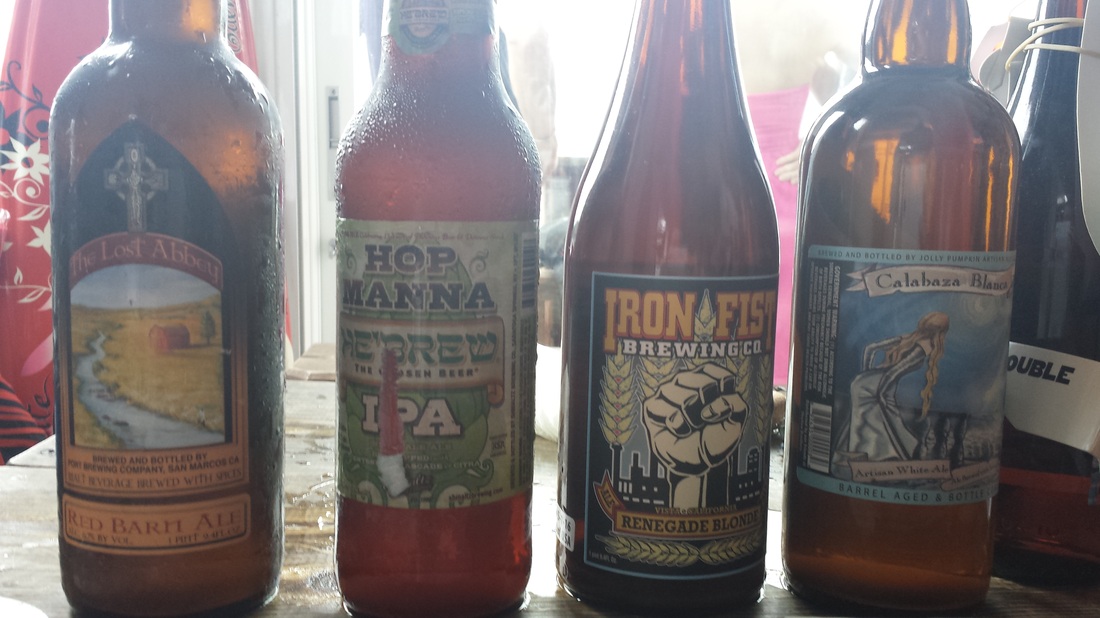
The outstanding beers I had at the event included Calabaza Blanca by Jolly Pumpkin, quite light on the palate for a witbier but retains a heady aroma and great sour taste with a strength of 4.8%, the Double Trouble by Tuatara was also highly enjoyable, along with the double IPA and Red Barn Ale by The Lost Abby, the latter of which is a saison with a hatful of flavour. All beers to consider on mail order or look out for should you see them in the UK. Overall this was a excellent and enjoyable event, which hopefully introduced the people of Hong Kong to new beers and showed the strength of the ever growing Craft Beer scene in Hong Kong which is enjoying a parallel to the US and Europe (in places, I understand!). I myself am looking forward to coming back to Mavericks and try the food, enjoy the beach (maybe not the surfing) and definitely take in a few more beers! The next event I will be attending (and hopefully writing about? – Pedro) in this vein will be International Beer Day on 1st August, which I am sure will involve a lot of new beers to try at venues in HK. I hope you enjoying my sideways glance at this event, stay tuned for some more from me in the future! Luke Palmer. This instalment is something of a departure from our usual format... that is, I am not going to be the author! This foreword is my only contribution, save some minor edits where needed. I have asked for any ideas for other people to contribute to some material for our followers to try out and we have our inaugural response right here folks! This is the first in a two part blog from our contributor, the second will be published in the not too distant future... but for now, I shall hand you over to Mr. Paul Arrondelle on the subject of home winemaking..... Pedro. ------------------------------------------------------ Beginnings My introduction to wine making is not that uncommon with other people. In my case it was my Dad who made wine when I was a kid, but most people of my generation seem to have a relative, either their Dad or an Uncle, who home-brewed. I can therefore remember him using an aged juicer on evenings to get apples ready, and the fact that my Mum worked on a pick-your-own farm meant that we had so many strawberries that we got sick of them, leaving the surplus available for a far nobler cause. Even my brother got in on the act, as he managed to blag a wine making kit for a birthday one year. He can't have been much more than 10, but was still allowed to make it and the result was declared a "Hock", and drunk with Sunday dinner. I sort of remember asking for the same privilege, but never got it for whatever reason. Years later I did have a go and made some Elderflower, around age 14 or so. I have no idea how it turned out, as it got forgotten and then poured down the sink without a tasting. My actual start to wine making, and home-brewing at large, came at University. An office mate was a keen brewer and didn't take much persuading to get me to go down to the Boots in Leeds city centre and buy a beer kit, with all the ingredients and equipment needed to make 20 pints of lager. This was duly done, with reasonable results, but the space required didn't really fit in with the small flat I had; so at some point, and I can't remember how it came about, I bought "First Steps in Winemaking" by C.J.J. Berry and that was that really. Since then, for 17 years with breaks here and there, I've gone through phases of making beer and wine. It has to be said that at the moment I’m going through a pretty major phase, although the arrival of my son has hampered things of late. Still, I get to grab a moment here and there to keep things ticking over. What this blog will tell you When Pete first suggested that I guest write on his blog I thought it was a great idea. In fact I considered writing my own blog and just cross-posting to his every once in a while (still may do this!). My intention is to start off with wine for this post, then cover beer the next and spirits the one after. Once those are done I will probably concentrate on wine, for reasons that will become apparent, but I can be persuaded otherwise if need be. The reason that I’ve chosen wine is that it is far easier and takes up less space than making beer, and with spirits you don’t really make them (unless you’re breaking the law) you just add different flavours. Firstly you’ll need to get equipment. You don’t need much, in fact to get all you need to start off will cost you less than £25 brand new and some of it you may already have or can improvise. What you need is: * A vessel big enough for all the ingredients; * A method of moving the finished product around; and * A way of making sure that all parts that the wine touches are clean.
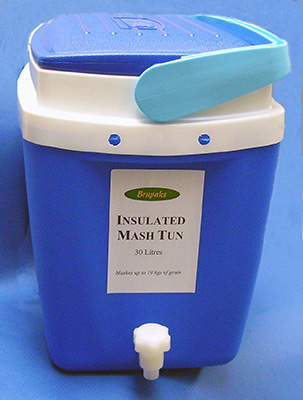
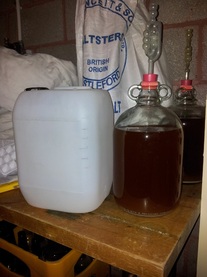
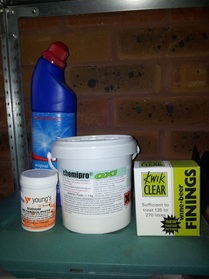
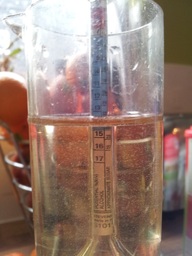
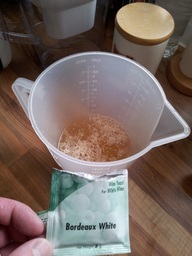
Of course you can go overboard and spend a fortune on much more, and indeed if you catch the bug this is exactly what you will do, but let’s keep things simple for now. I’ll go through one of the easiest recipes I know step by step and describe what was used along the way, with any shortcuts I can think of. “Aldi White” I found this recipe on a forum, where it was called “Lidl Red”. The principle is pretty basic, but a great idea - you buy 4 litres of cheap fruit juice and a kilo of sugar from a budget supermarket, put it all together and add some yeast, and in a month or two you have 6 bottles of wine. Easy as that! I considered starting by describing how to make a wine from a kit of concentrate, but to be honest this is easier and probably cheaper. Plus I felt that if I did that it would be akin to Pete blogging about a pot noodle that he made, or a pizza he ordered. Once I’ve covered the basics with this recipe I’ll expand out to wines that are a bit more adventurous, but for now this is as much about process as it is about content. 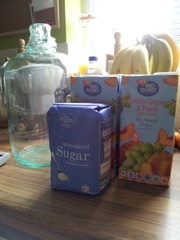 Ingredients needed for the 'Aldi White' Clean your fermentation vessel (FV), be it a demi-john or just an old 5 litre water bottle, using hot water and washing up liquid, then sterilize it. This can be done with a purpose made home brewing chemical, or with household bleach. The only disadvantage to bleach is that it is a bit of a bugger to rinse out, as I tend to get paranoid about any faint whiff of it still in the FV when actually I’m probably just smelling it on my fingers. And yes, I did say when rinsing out. You basically spend ages getting your kit sterile and then rinse it all off with tap water. Don’t ask. The way around this is to use “no-rinse” sterilizers, which of course cost more. The bottom line is keep everything clean and you should be fine. For all of the gallons that I’ve made over the years I’ve never lost anything due to lack of cleanliness. Because I’ve got the equipment I measured the specific gravity of the fruit juice using a hydrometer and a test jar. By doing this I have estimated the sugar content and so the potential alcohol I can get. It came in at 5%. The rule of thumb is that for every pound of sugar added to a gallon (sorry for mixing metric and imperial!) you add 5% to the wine, so if I had just mixed the juice and sugar that I bought in the same jar, then provided it all fermented out I would have had a fruit wine of between 15 and 16%. Not bad. In actuality I followed a slightly different route; I emptied one litre of juice into a pan, heated it and dissolved half the sugar in. Once it had gone into solution I mixed all of the juice together into my demi-john then poured some out into my trial jar to re-check. The potential alcohol came out at 10% so I added another 250g and remeasured - it came out at just over 13% which is what I was aiming for. Why? Different yeasts will ferment to different strengths. When I started out you only really went up to 12-13% unless you used a specialist yeast. Now you can go up to 23%, but the yeast I am using is unknown to me and if I added a shed load of sugar and it didn’t ferment out I would be left with an over sweet wine. Once that happens you either have to put up with it, or get into all sorts of trouble trying to restart the fermentation. Too much bother! If the wine ferments out all the sugar you can always add some extra - once the sugar is in though you can’t take it out. Needless to say if you are trying this recipe all you have to do is use a yeast that will ferment to 16% or higher and you should be fine without needing to buy a hydrometer. This also neatly bypasses the fact that the reading that you take is dependent on the temperature of the solution. Kit required so far: FV, cleaner, hydrometer & trial jar (optional), yeast. 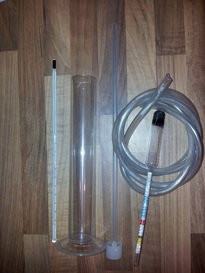 Hydrometer Kit Once you have the potential strength you want the solution goes into your FV , you add the yeast you have chosen to use and seal the FV. If you are using a demi-john you would most likely use an air-lock of some kind, but you can just put a tea-towel over the top, use kitchen roll and an elastic band, or just the bottle closure without screwing it down air tight. What you are trying to do for the time being is keep dirt and bugs from getting in but allowing the carbon dioxide generated by fermentation out. Once closed, simply leave in a warm-ish place until the yeast has worked its magic. Again this depends on the variety, but it will take around 2 weeks for a modern yeast and around 4 for an older style one. You can tell that this has happened in a number of ways. The easiest is the hydrometer again; modern ones even have a scale that estimates where you are but if you are fermenting to dryness then the gravity will be 1.0 or less. Without the hydrometer you can watch the airlock for bubbles or make the FV air tight and see if it pressurises. Once fermentation has finished you should keep air from getting to the wine so that it doesn’t spoil, and let the yeast settle at the base.
We’re almost there now, just a couple of steps left. The next operation is to get the fermented wine off the spent yeast, and this is usually done by syphoning into a second FV. If you use a tube with a special foot in it then it will draw the liquid from above, and so minimise the amount of yeast that transfers across. You may want to add finings at this point to make perfectly clear wine, but you don’t have to. Finally start thinking about storage. The best way is to use old wine bottles, and if they have a screw cap even better. Clean them out and sterilize them, then use the syphon again to fill them from the FV. Cap and store, then drink! Needed kit: FV, cleaner, yeast, FV closure or airlock, syphon tube and foot, second vessel capable of holding 5 litres Optional kit: hydrometer and trial jar, thermometer, finings, second FV You’ll most likely get 5 ½ bottles from this after wastage, which for the outlay isn’t bad. Do this a few times and the kit will pay for itself. Next time Beer making, and why you shouldn’t do it. Recommended Suppliers Basics, on the high street - Wilkinsons (http://goo.gl/hy3hD) Basics, on the web - Amazon More advanced - http://www.the-home-brew-shop.co.uk/index.html or http://www.art-of-brewing.co.uk/ My local home-brew shop (LHBS) - Arkwrights (http://www.arkwrightshomebrew.com/catalog/index.php) |
Archives
April 2022
Archives
April 2022
Click ^ the RSS Feed to follow me
Categories
All
|

 RSS Feed
