
Welcome once again mi rasa! Further to the Game Pie recipe I posted a lot earlier in this blog, having bought a glut of delicious venison, I think it needed using up in a rather classic combination. Having eaten venison and orange sausages at a food festival many moons ago, I decided to pay homage to the flavours and apply them to a little pot of meaty goodness. I managed to forget to get this blog posted a bit earlier, but never mind... it's here now! As previously stated in the pie blog, venison has come into a period of acclaim due to its relatively lean nature and rich flavour. Check out the earlier blog here: http://electrokemistcuisine.weebly.com/1/post/2012/05/game-pie-recipe-inspiration-from-the-uk-pie-awards.html and note the link to an article in the Guardian online where the praises of venison are covered in more depth. Anyway, a short and sweet blog this time around, onto a lovely recipe for Venison….
What you need (for 4 portions)
½ pound (~450g) Venison 2-3 rashers of back bacon 1 whole medium sized orange (tennis ball sized) 3-4 medium sized Shallots 1 large clove of Garlic Olive Oil Chicken Stock What to do 1. Dice the venison and trim any tough bits of fat away from the meat. Chop the back bacon into ~2cm sized chunks where possible; fry the chopped bacon in 1 tbsp olive oil. Now chop finely and fry the chopped shallots in an additional 1 tblsp of olive oil in the same pan as the crisped bacon until the shallots are translucent. 2. Add the venison to the pan and fry with the bacon and shallots, continually turning over a medium heat for 15 minutes, now add the clove of garlic which should be finely chopped and the zest of half the orange. After 30 minutes of initial venison frying, add the juice from the whole orange, reduce this down for 15 mins and add 200ml of the chicken stock. 3. After 45-50 minutes in the pan, transfer the venison to 4 small casserole dishes (or one large one), place the lid over the dish(es) and bake in the oven for 30 minutes. 4. Allow the venison to cool for 5-10 minutes and then serve with some seasonal vegetables. Enjoy guys!! Pedro. x
0 Comments

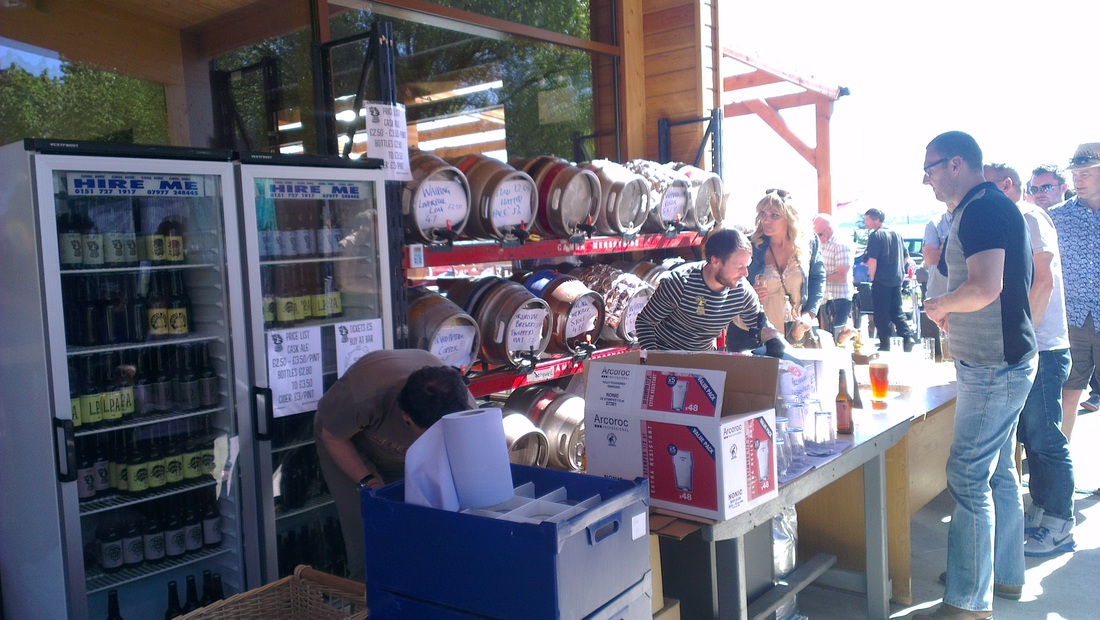
British Bank Holiday weekends are invariably washed out affairs, much more suited to sitting wistfully on a window ledge staring outside at the rain trickling down the pane. Luckily, the last two Bank Holiday weekends in May of 2013 have been gloriously bright affairs. That type of weather definitely lends itself to sitting out with friends in a Beer garden, having a picnic and a few cold drinks in the park with the family or even better, attending a beer festival. There have been a few of late and there are a few more to come in Liverpool over the next few months. I spent the first May bank holiday at the Eagle and Child beer festival in Bispham Green (near Parbold/Mawdelsey). Typically, this festival experiences excellent dry weather and is generally superbly run and friendly affair. The addition of hand pumps to a few of the cask ales on offer this year is a definite improvement and a step upward from the usual high standards in the grounds of the pub owned by the Ainscoughs (of Racquet Club fame). The most recent Bank Holiday weekend was also spent investigating a slightly smaller scale beer festival, this time by the banks of the River Mersey in Otterspool at the Otter’s Café at Active Adventures. Having ventured down on the Saturday and Sunday, the clientele was mixed to say the least, with a market having brought some people out and the remainder either those wandering along the promenade for a walk and an ice cream or those specifically for the beer festival. There was even room for a Hen do oddly enough! Rather than a pub or association running this event, the crowds were treated to some local brews organised by the Mad Hatter Brewing Company. The Mad Hatters Brewing Company is the newest addition to Liverpool’s ever-increasing craft beer and real ale scene with Head Brewer Gaz and partner in crime Sue, initially taking things a little more seriously in 2007. With the burgeoning interest in Liverpool (as with the rest of the UK) in food and more pertinently, drink, driving the demand for fashionable food and beers with character, there is certainly room. The latter of these demanded items is something that the Mad Hatter is able to provide in abundance. This is more than evident, with some 16 different styles of beer lined up at the brewery, perhaps more once confidence has grown – and a range of brewing techniques not generally used in the UK. Some departure from academia up in Lancaster, I am sure most would agree, but a brave and highly welcome decision for a lot of us.
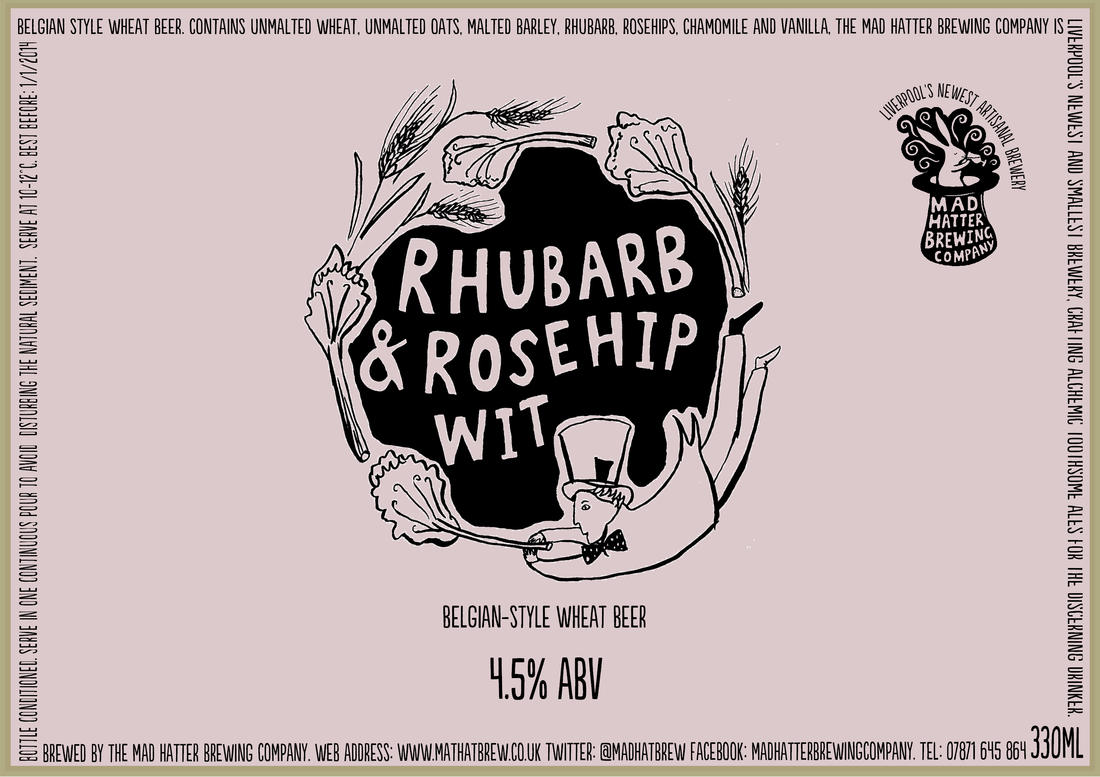
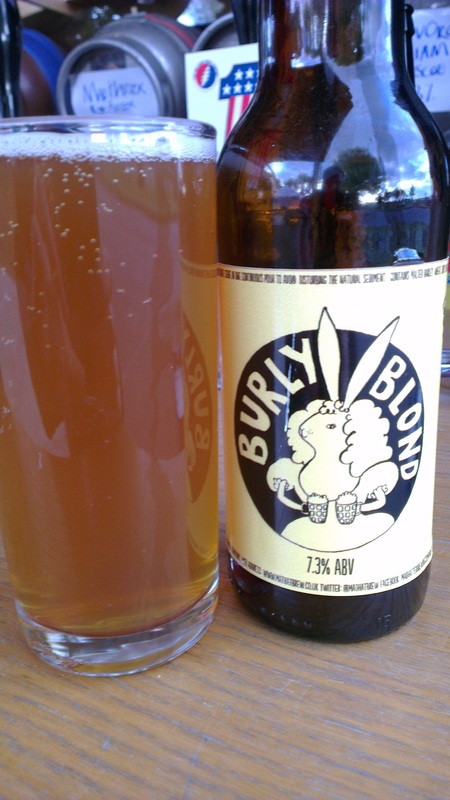
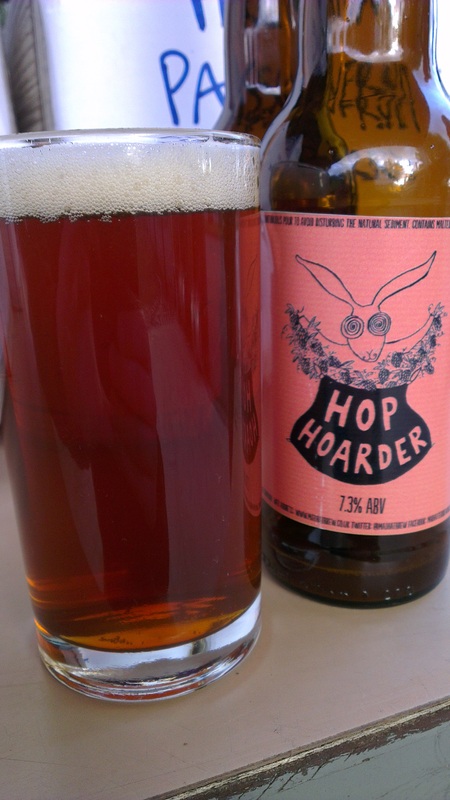
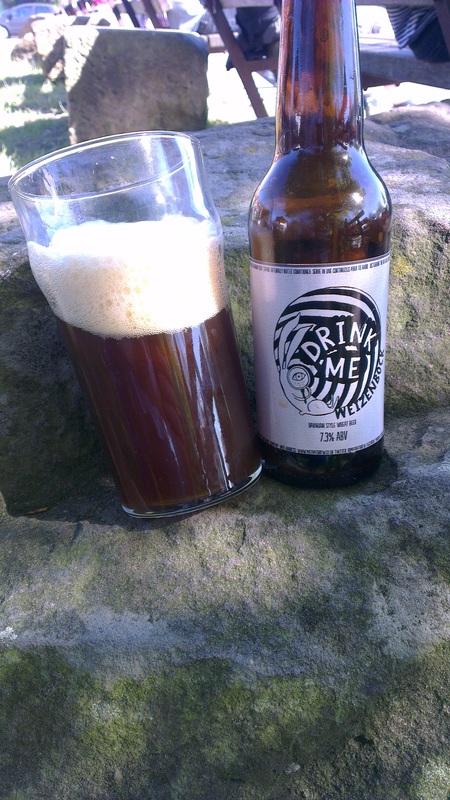
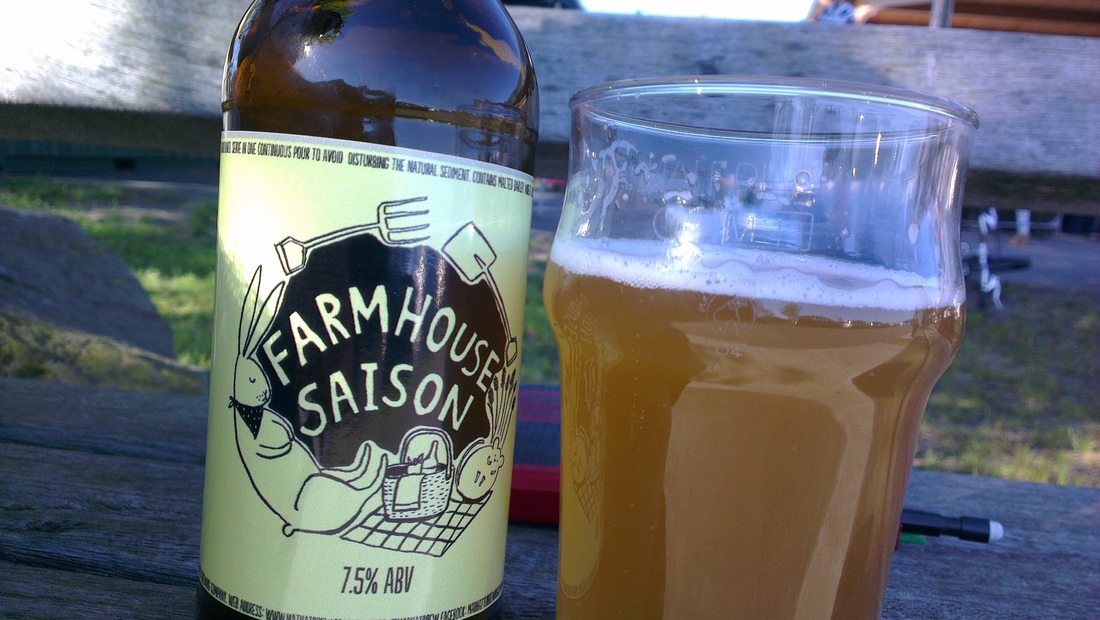
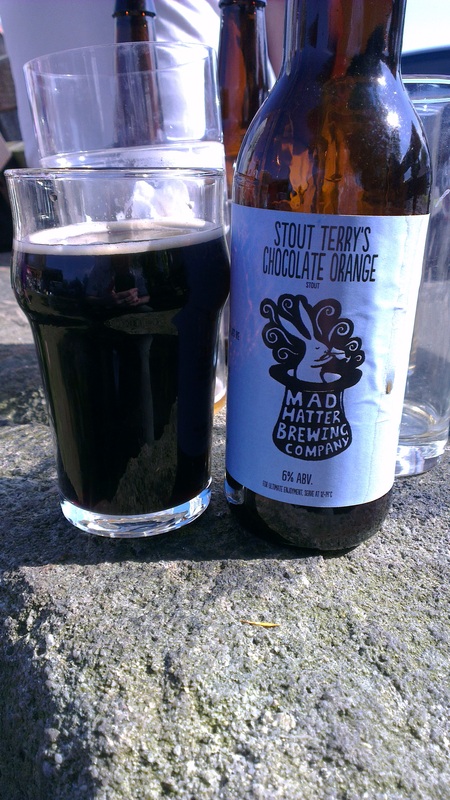
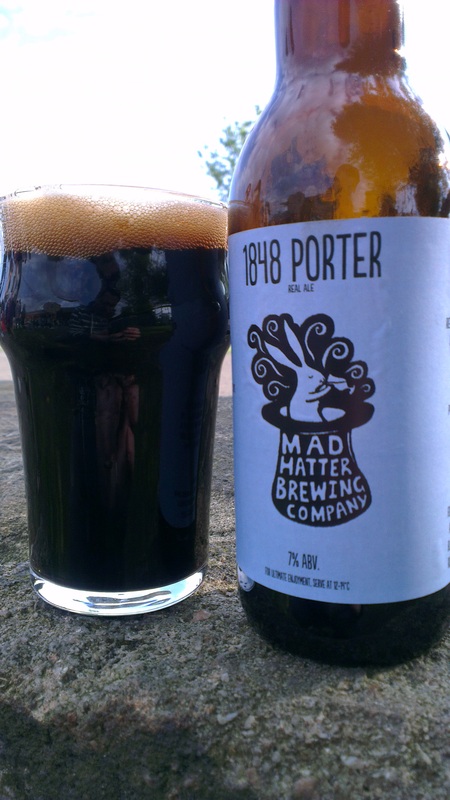
At the festival, there were a few ales on offer from some of the usual suspects on the Liverpool Beer scene in the shape of Liverpool Organic Brewery, Liverpool Craft Brewery, Wapping, Brimstage Brewery from Wirral and another newcomer in the shape of the promising Melwood Brewing Company. The undoubted stars of the show at this festival were the beers on offer from the Mad Hatter Brewery. The unusually potent ales conceived by the Mad Hatter himself were present in fridges, which were stocked full as to be curiouser and curiouser; leporine artwork by Emily Warren of Stealthy Rabbit adorning a variety of exciting bottles promising much. Emily's thoughts are given in a bit more detail than I can divulge right now over on: [http://thestealthyrabbit.blogspot.co.uk/]. Over the course of the weekend, I made it my duty to try and characterise as much of the wonderland made real by the brewery as possible. However, with an ABV of usually over 7%, care must be taken – an easy task it was not!! The brewery was keen to provide something as an alternative to the usual session beers on the market, offering viable alternatives for food pairings to the usual fallback of a bottle of wine. Here are a few of the tasting notes I made whilst I was able to stave off falling down the rabbit hole:
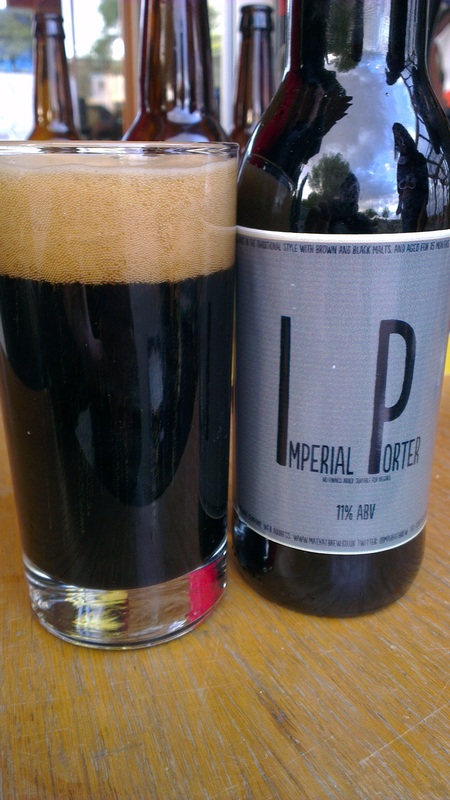
2. Imperial IPA: Using Simcoe hops, the pine notes in this beer are deeply embedded and very obvious, at 7.3% it packs quite a punch and has quite a sharp edge with some good acidity. Very, very hoppy!
That’s your lot for what magnificence I tried on offer at the Beer Festival, but your extra reading after this blog is to go and check out the Mad Hatter Brewing Company website (conveniently located here: [http://madhatbrew.co.uk/] and for more up to date information, search facebook for Mad Hatter Brewing Company, or follow them on twitter, @MadHatBrew] with a run down of their beers and details should you need to contact them. Their beers will be available from the following outlets: Beers are available in Liverpool from: Stamps Too, (CAMRA pub of the year, Liverpool) The Dispensary, Renshaw St The Ship and Mitre And also soon from: 23 Club, below the Clove Hitch Pod, Allerton Road Manchester: Pie & Ale, Northern Quarter, The Port St Beer House, Northern Quarter And also soon from: Joshua Brooks, Oxford Road The Magnet, Stockport (CAMRA pub of the year, Greater Manchester) 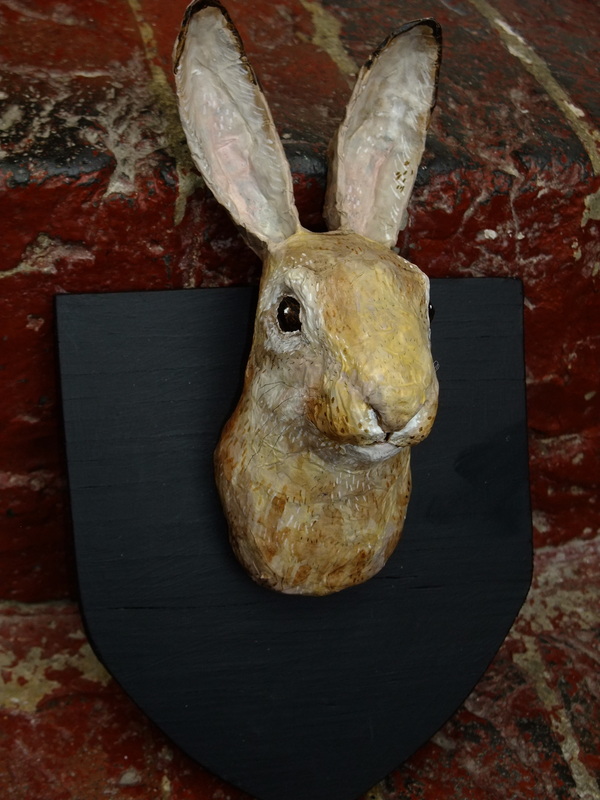
Superb pump clip artwork and sculptures are commonplace in the Mat Hatter Wonderland...
Unfortunately, you can’t buy from the Brewery direct at the moment, so you’ll have to go hunt down these bad boys from one of the outlets above if you’re feeling impatient!! A tip of the (mad) hat should also go to the guys down at the Otters Café for putting on the mini market and beer festival. They have an aerial assault course in the vein of Go Ape! there alongside a maze and the café and lovely riverside views. The coffee and cakes is pretty good there too! Full details of the venue are just a click away: [http://www.activeadventuresliverpool.co.uk/]. Until next time guys, I’ll see you through the looking glass! Pedro x
It’s quite easy to get bitten by the bug to make your own bread, albeit a rather time consuming and at times initially frustrating bug. Once you’ve gotten the technique nailed, then there’s a bit of play in what you can do to flavour a loaf of bread, changing the types of flour you use, the amounts of salt and adding fruit, nuts or herbs can also provide an interesting twist. I have even ventured into the realms of making ‘Twiglet Bread’. Having read a number of blogs on the subject and already being a firm believer in making my own naan bread from scratch and using a rather handy bread making machine, the transition to hand made bread was relatively smooth. The biggest alteration made though, was to make my own sourdough bread rather than using vacuum packed dried yeast – although that said, you can use both in tandem to some very satisfying results. The premise of using a sourdough starter for your bread is quite simple; it uses ‘wild’ yeast that is present in the flour or in the environment of wherever you leave your initial starter to ‘catch’. There are a number of blogs that have been written on how to make a starter, I will leave people to their own devices to do an internet search for this material and decide which author they want to follow. I forget now which method I used as my starter (to date) is approximately a year old (which is nothing, as an aside, there is a famous bakery in New York which uses a starter that was conceived when the establishment was set up for its bagels/beigels, supposedly over 200 years old now). The key is to use organic flour in a clean jar say, 50-100g with enough water to make it to a paste consistency. Leave it with the jar on the lid, but not screwed on, to allow the flour/water mix to breathe and ferment. It will take a few days to get going and it won’t smell too pleasant to most people, half gets thrown away and the other half goes on to be fed with more flour and water, taking off what you need to start making a loaf, buns or bagels etc. Exact protocols for making this are widely available on the internet as I said!
Once you have a controlled culture of sourdough, you can start making delicious bread that has an incredible amount of taste compared to the mass-produced loaves you buy in supermarkets and even most chain bakeries. I’ll list two of my attempts at flavoured bread which have both gone down quite well. First is the infamous ‘Twiglet Bread’, which is flavoured with the love/hate agent – yeast extract (yes, yes… okay Marmite is the one that’s synonymous): Ingredients 250g of Sourdough Starter (using organic strong white bread flour) 3.5g Dried Yeast upward of 20ml Water (depending on how thick the starter is!) 2 tblsp Olive Oil 1 medium Egg 1 ½ tsp Sugar 2 tsp Salt 1 tblsp Yeast Extract 1 ½ tsp Baking Powder 1 ½ tsp Bicarbonate of Soda 100g of Rye Flour 100g of Wholemeal Flour 140g of Strong White Bread Flour (this amount can be increased if needed to get the right consistency of dough) plus extra for dusting Topping 1 tsp Honey (optional) 2 tsp Sesame Oil 3 tsp Yeast Extract 1 tblsp Hot Water 
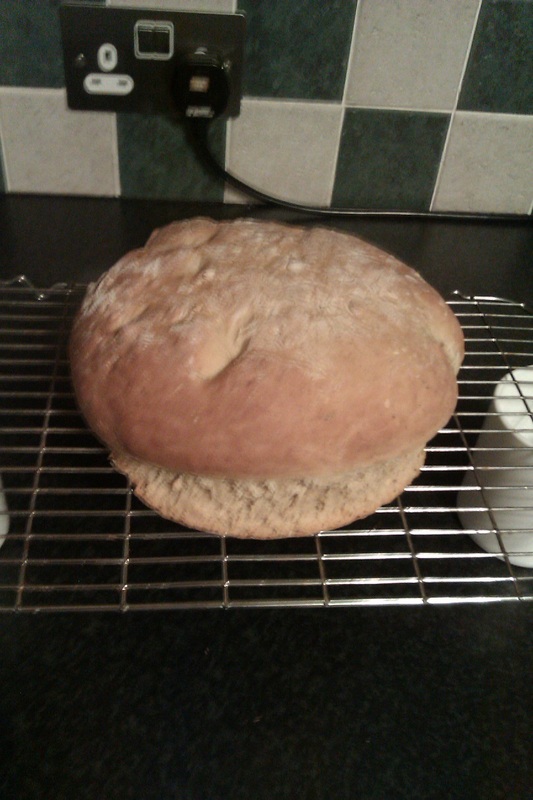
Twiglet Bread ready to bake!
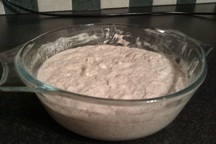
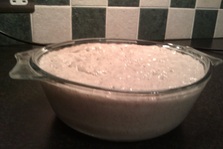
What to do 1. Combine the ingredients for the dough, dry ingredients first – make sure the white flour is sifted into the mixture (sieve or dredger is fine!), into a large mixing bowl and use a wooden spoon to stir them together, adding water as you go until the dough is to the right consistency. The wet sourdough starter and egg should provide the bulk of the moisture for the dough as it is. Once the dough is to a manageable consistency, flour a flat surface to manipulate your dough and knead it until it is thoroughly mixed and the colour is completely uniform through the dough which should be a slightly silky and elastic finish (you want to ensure even spread of the yeast and marmite etc in the dough to ensure an even rise and no concentrated pockets of flavour!!). 2. Allow the dough to rise in a warm place, put in the bowl and cover with a damp cloth or some cling film. Allow at least 2 hours or until the dough doubles in size. At this stage, you can either manipulate the dough further (and allow a second rise by bashing the air out of the dough and then shaping the loaf into your desired shape and leaving it to prove for 30mins to an hour) or you can gently shape it and then apply a ‘baste’ and get straight on with the baking! To shape the loaf, generally it works well to fold the edges back into the centre gently but repeatedly, then place the folded side on the bottom and use the heels of your palms to rotate the bread to make it to a smooth 3. Once the loaf is in the desired shape, lightly oil the baking tray or tin to ensure the bread won’t stick to the surface. You’ll now need to slash diagonally across the top of the loaf and then prepare the topping/baste to finish your twiglet bread. Stir the yeast extract into the hot water, add the sesame oil and honey once it has dissolved into the water and become thinner in viscosity, stir vigorously to ensure the oil and honey are also into the topping. Now use a pastry brush to spread the topping over the loaf before you place it in the oven to bake. 4. All ovens are different, but most will take at least 35 mins at gas mark 7 or 8, the key is to ensure the bread rises a little more and you can tell if it is done by tapping the bottom of the loaf – a hollow thud should tell you that it is done! You’re on your own for this bit I’m afraid! 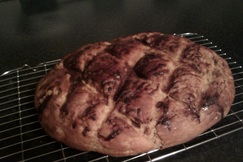
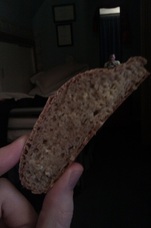
Twiglet Loaf
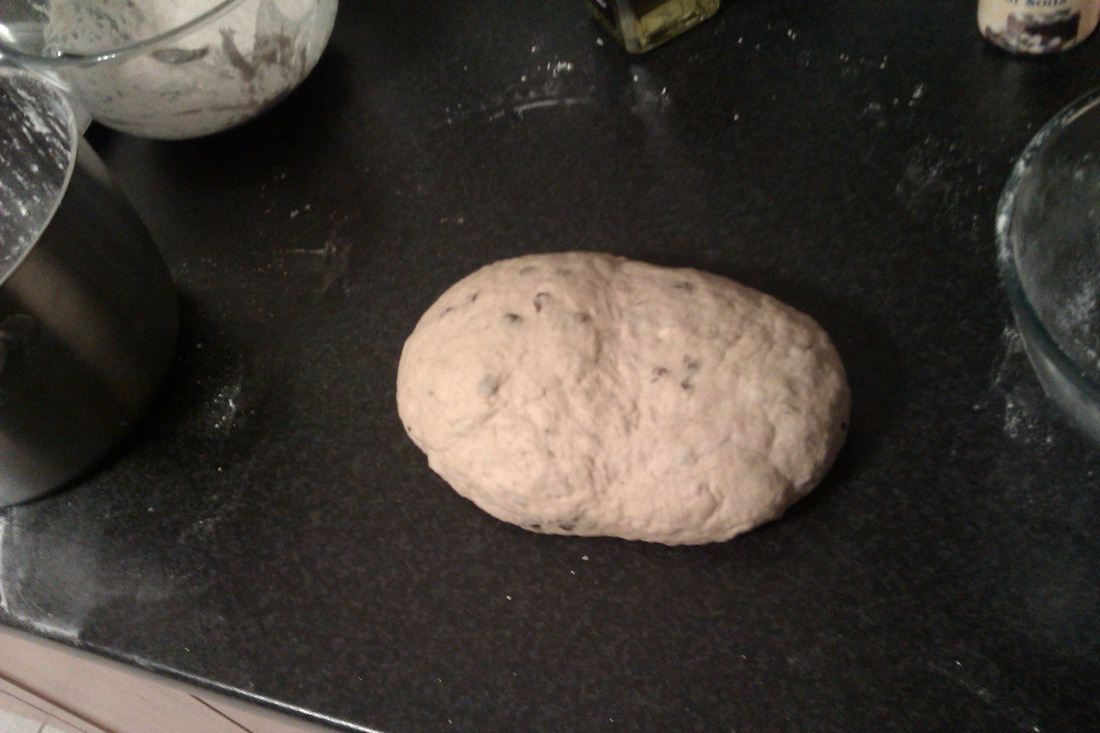
Uncle Pedro’s Orange Loaf Ingredients 250g of Sourdough Starter 340g of Strong White Bread Flour (this amount can be increased if needed to get the right consistency of dough) plus extra for dusting 3.5g Dried Yeast 1 medium Egg 25g Light Muscovado sugar 75g of Raisins or Sultanas ½ tsp Caraway seeds 1 Whole Orange (Zest and Juice) 1 ½ tsp Bicarbonate of Soda 1 ½ tsp Baking Powder 2 tblsp Olive Oil – or – 15g of Butter (unsalted) Glaze 1 tblsp Marmalade (whichever takes your fancy) 1 tsp Honey 10ml Boiling Water ½ tsp Light Muscovado sugar 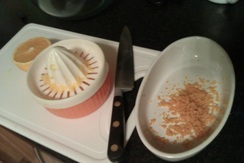
Collecting the Orange Zest and Juice...
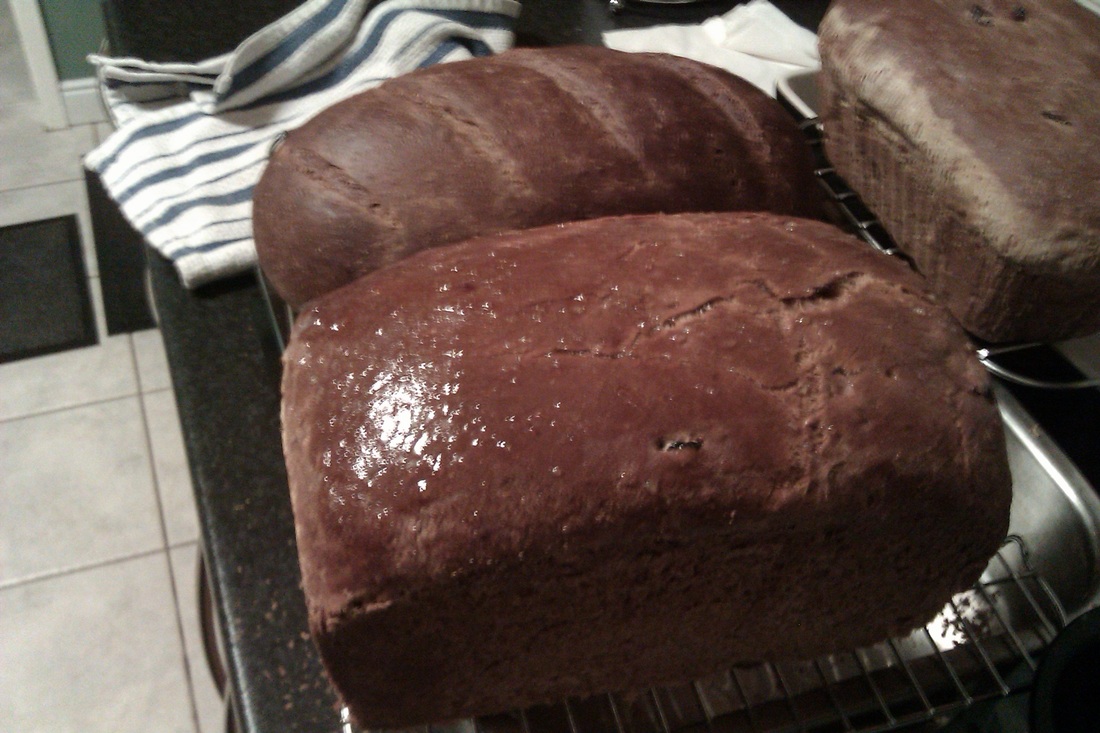
What to do The way to make this loaf is essentially the same as the other twiglet loaf, aside from the different ingredients. 1. Combine the ingredients for the dough as with the twiglet bread, ensure that your sultanas or raisins are in the mix and bound well into the dough, you can combine the dry ingredients first – make sure the white flour is sifted into the mixture (again, a sieve or dredger is fine!), into a large mixing bowl and use a wooden spoon to stir them together, adding water as you go until the dough is to the right consistency. The wet sourdough starter and egg should provide the bulk of the moisture for the dough as it is. Once the dough is to a manageable consistency, flour a flat surface to manipulate your dough and knead it until it is thoroughly mixed and the colour is completely uniform through the dough; which should be a slightly silky and elastic finish. 2. Allow the dough to rise in a warm place, put in the bowl and cover with a damp cloth or some cling film. Allow at least an hour or until the dough roughly doubles in size. At this stage, you can either manipulate the dough further (and allow a second rise by bashing the air out of the dough and then shaping the loaf into your desired shape and leaving it to prove for 30mins to an hour) or you can gently shape it and then apply a marmalade glaze and get straight on with the baking! 3. Once the loaf is in the desired shape, lightly oil the baking tray or tin with olive oil or preferably butter, to ensure the bread won’t stick to the surface. You’ll now need to prepare the orangey glaze to finish your loaf. Stir the marmalade into the sugar and hot water, add the honey, then once it has dissolved into the water and become thinner in viscosity, stir vigorously to ensure an even consistency with the glaze. Now use a pastry brush to spread the glaze over the loaf before you place it in the oven to bake. 4. All ovens are different, but most will take at least 35 mins at gas mark 7 or 8, the key is to ensure the bread rises a little more and you can tell if it is done by tapping the bottom of the loaf – a hollow thud should tell you that it is done! You’re on your own for this bit I’m afraid due to the difference in ovens! 5. Leave this loaf for at least a couple of hours to rest - as it will still be fairly sticky. You can always lightly dust the glaze with some icing/confectionary sugar for ease of storage if you do not have an airtight box large enough.
The shelf life of these loaves is actually relatively lower than mass-produced sliced loaves, so it is best to store these loaves in a refrigerator if possible and get them eaten within a week to ten days. The sourdough mix may taste much better, but it does mean the bread becomes quite tasty for those microbes that will spoil your creations! Good luck, if anyone wants any advice or is nearby and wants some sourdough starter from me, please give me a shout, it’s very easy to cultivate and look after if you’re on the ball! See you again soon! Pedro. x |
Archives
April 2022
Archives
April 2022
Click ^ the RSS Feed to follow me
Categories
All
|


 RSS Feed
